Dropdown Menus: Tips And Tricks – Part 3
In Part 1 and Part 2, I have highlighted some tips and tricks to get a website menu more user-friendly and attractive to website visitors. In this part, I will reveal some useful user interface features that will help you become a more efficient Menu Generator user.
15. Menu Structure: Element in the Proper Place
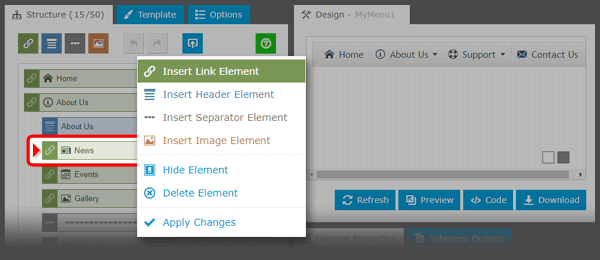
Usually, to add a new element you click on the corresponding button; the new element appears on the top of the structure tree. After that, you drag the element through the structure tree and drop it in the proper place. But there is an alternate, much easier way.
You can add menu elements by using the context menu. Just right-click on the proper place of the structure and insert a new element with one click. No more tedious dragging the element through the structure tree.
16. Element Types
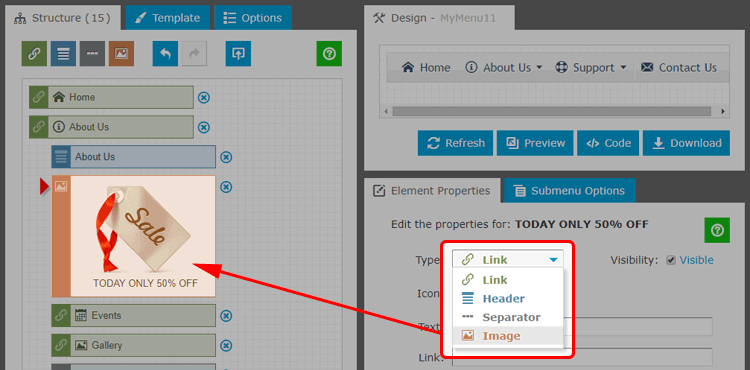
Menu elements can be of four different types: Links, Headers, Separators, and Images. You can easily change the type of the element in the Element Properties form.
For example, if you want to add an image to the Link element, you do not need to delete this element and insert a new Image element; just change the element type from "Link" to "Image".
17. Show/Hide Elements
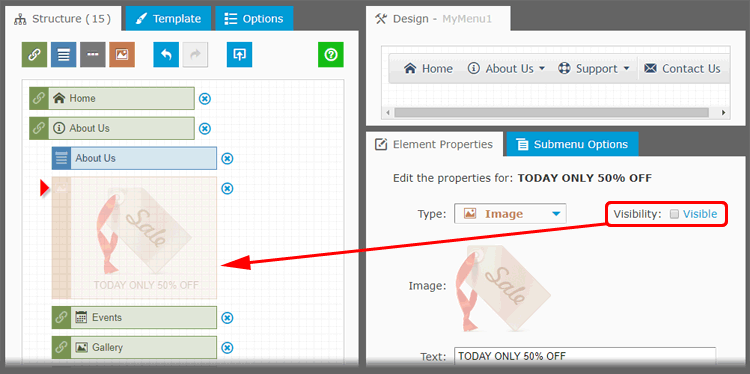
Let's assume that your menu includes the element which must be visible only on specific dates (sellouts, holidays, festivals, etc.). You do not need to add/remove it again and again; just always keep it in the structure and use the Visibility property which allows hiding an element without deleting it. Hidden elements are displayed in the structure tree as semi-transparent.
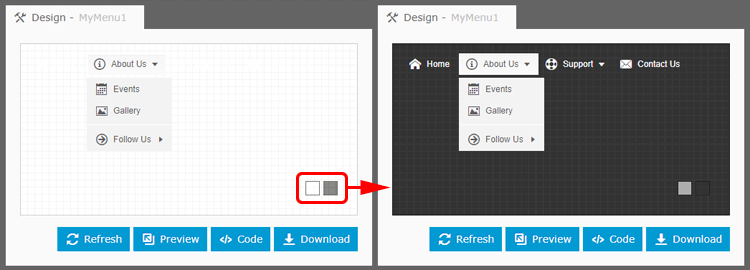
18. Design Window: Background Color
Color contrast is very important for better readability. For a light-colored or transparent menu, set the dark background.
19. Import Navigation Links
You can easily import HTML code with menu links into Menu Generator. To import menu structure, just click on the Import button and paste the code into the input field.

A classic menu structure is a series of nested <ul> elements; a single link is a combination of the <li> and <a> elements.
Example code with two levels of hierarchy:
<ul>
    <li><a href="#">Home</a></li>
    <li><a href="#">About Us</a>
        <ul>
            <li><a href="#">News</a></li>
            <li><a href="#">Events</a></li>
            <li><a href="#">Gallery</a></li>
        </ul>
    </li>
    <li><a href="#">Support</a></li>
    <li><a href="#">Contact Us</a></li>
    <!-- etc. -->
</ul>
20. Undo/Redo
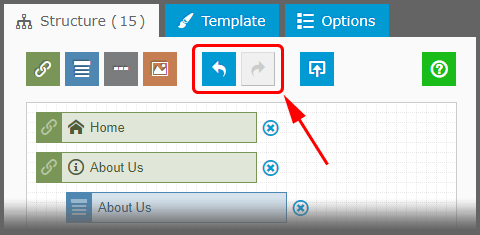
If you accidentally deleted an element or imported an incorrect structure code, do not worry. The Undo and Redo features allow you to easily correct an accidental action, as well as free you to experiment with the menu structure.
Undo reverses the last action you performed, and Redo undoes the last Undo action. Structure Editor keeps track of up to five of your last actions.
21. Custom Icons
The most effective way to make site navigation a truly user-friendly is to add icons. Menu Generator includes the collection of 120+ most popular icons. But you can import your own icon set.
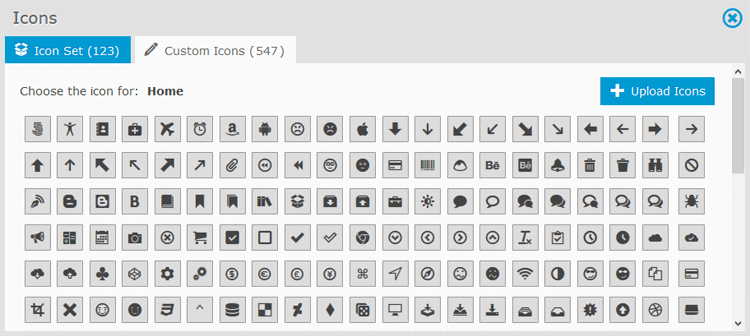
Read this blog post for details: How to Add Vector Icons to Website Menu
22. Duplicate Menu
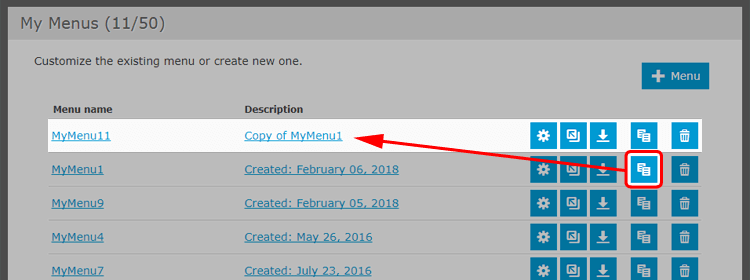
Let's assume that you consider adding an additional language to existing website. If so, you need is a copy of your main menu in another language.
Menu Generator allows you to create the clone of an existing menu. It generates the copy, including the structure, template, and all of the menu settings.
23. Context-Sensitive Help
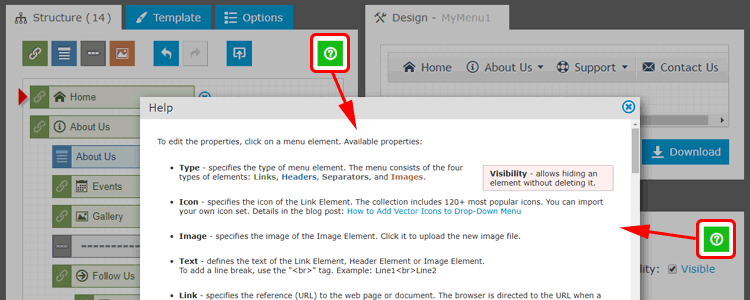
If you need to get specific information about whatever part of the Menu Generator, just click on the corresponding help icon (a green square with the question mark); a "pop-up" window with context help will appear providing hints or tips.
To be continued ...
Links